
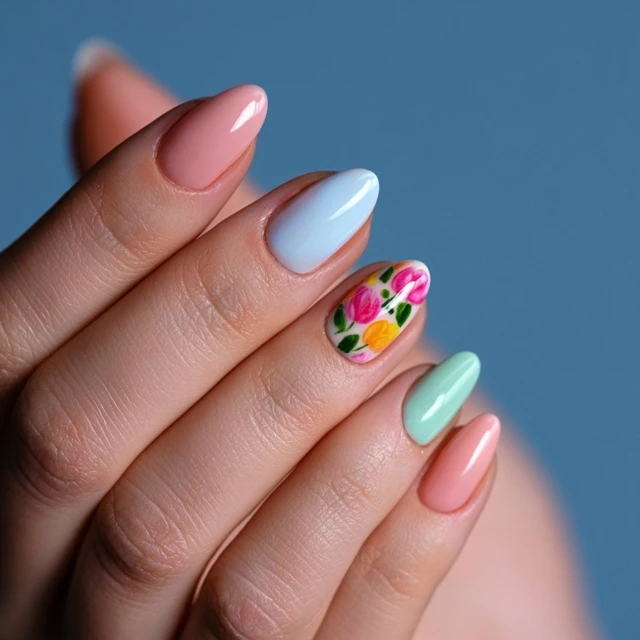
The first warm breeze of spring sneaks through the screen door. You glance down at your hands and realize your winter dark polish feels heavy, out of place. What you want is something light, fresh — a manicure that whispers instead of shouts. That’s where this simple spring nude and daisy nail art comes in. It’s clean, feminine, and surprisingly easy to pull off, even if you’ve never painted a flower in your life.

Why This Combination Works
The nude base does the heavy lifting. It extends the wear of your manicure because chips are less obvious against a neutral tone. It also lets the white daisies pop without looking busy. I keep the ratio at about three daisies per nail — one larger, two smaller — spaced evenly. Too many flowers and the look gets cluttered; too few and it feels empty. This balance gives you that effortless spring vibe.
Tools and Prep
You don’t need a kit full of brushes. A dotting tool (or a toothpick) is your best friend here. Start with clean, dry nails. Push back cuticles gently — no cutting. Apply a base coat in a thin layer; this prevents staining from the white polish and helps the design last through handwashing and cooking at the campsite. Let it dry fully before moving on.
The Nude Base
Choose a nude that matches your skin’s undertone — pink for cool, peach for warm, beige for neutral. Apply two thin coats. The first coat will look streaky; that’s normal. Wait two minutes, then apply the second. The finish should be smooth and opaque. If you see brush strokes, your polish is too thick. Add a drop of thinner, not remover. Let the base dry for five minutes before you start the flowers.
The Daisy Technique
Here’s the part that makes this look screenshot-worthy. Dip your dotting tool into white polish. Tap the tool on the bottle rim to remove excess — you want a small, round bead, not a drip. Place the tool on the nail and press gently, then lift straight up. Don’t drag. The dot will spread slightly into a petal shape. Make five dots in a circle, each about the size of a pinhead. Leave a small gap in the center for the yellow dot.
The common mistake is using too much polish. If your dots turn into blobs, you’ve overloaded the tool. Wipe it clean and start over with less. Practice on a piece of paper first if you’re nervous. The beauty of this design is that imperfect dots still look like petals — nature isn’t symmetrical either.
Adding the Yellow Center
Clean the dotting tool with remover. Dip into yellow polish, again tapping off excess. Place one dot in the center of each daisy. Don’t press too hard — you want a small, round center that doesn’t bleed into the petals. Let the design dry for five minutes. This step is crucial; if you apply top coat too soon, the colors will smear.
Sealing the Design
Apply a generous layer of top coat. I prefer a quick-dry formula for impatient campers. Brush from cuticle to tip in one stroke. Don’t go back and forth — that drags the petals. Cap the free edge by running the brush along the nail tip. This seals the polish and prevents chipping. Let dry for ten minutes. Avoid water or heavy use for another hour.
Adapting for Campsite Life
This manicure holds up well to camp chores if you let the top coat cure fully. If you’re cooking over a campfire, keep your nails away from the heat — hot air can soften the polish. For a quicker version, use a peel-off base coat so you can remove the design easily when you’re ready for a change. Store your polishes in a cool, dry place, not in the hot car.
Takeaway
This simple spring nude and daisy nail art is proof that you don’t need complex tools or years of practice to create something beautiful. The key is patience between layers and a light hand with the dotting tool. Screenshot this guide, grab your polishes, and give it a try. Your hands will thank you for the fresh start.
Frequently Asked Questions
How do I get the daisy petals to look even?
Use a dotting tool with a medium-sized tip. Dip it once, then place five dots in a loose circle. Don’t drag the tool — just press and lift. The dots will naturally spread into petals.
Can I use a toothpick instead of a dotting tool?
Yes. Break off the pointed tip of a toothpick and use the flat, splintered end. It mimics a larger dotting tool. Dip and dab as you would with a metal tool.
How long does this nail art take to dry?
Allow 2 minutes between each coat of base and color. The white dots need 2 minutes before adding the yellow center. Let the top coat dry 10 minutes before doing anything with your hands.
What if my white polish is too sheer?
Use an opaque white polish. If you only have sheer, apply two dots on top of each other for each petal. Let the first dot dry before adding the second.