
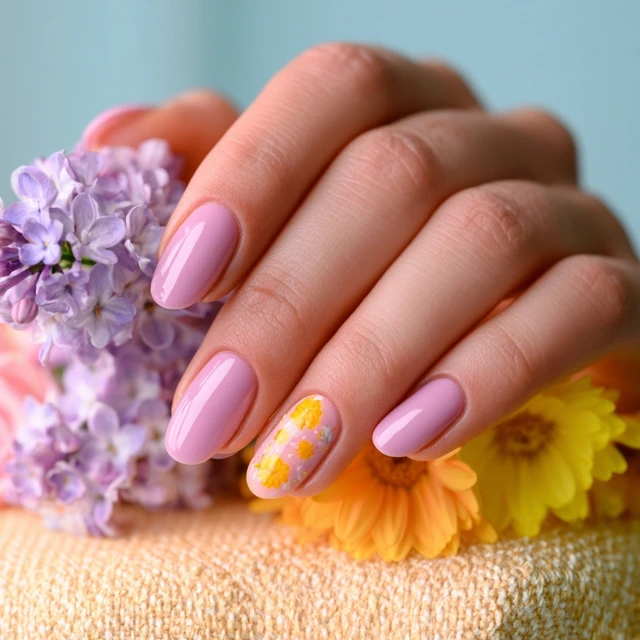
The first time I saw cherry blossom nails, I was stopped mid-scroll. Not because they were bold or flashy — but because they were quiet. Soft pink petals against a sheer base, like a branch caught in morning light. That look is worth a double-tap. And you can create it at home with a simple watercolor technique.

The Secret Is in the Sheer Layer
Most people try to paint cherry blossoms directly onto a solid color. That gives you a sticker-like look. The real magic comes from a jelly polish base — a translucent pink that lets your natural nail peek through. I keep the ratio at one coat of sheer pink over a clean, buffed nail. This creates depth without covering the nail completely. Think of it as a blush, not a paint job.
Tools You Actually Need
You don’t need a lot. A detail liner brush with a fine tip is the main tool. A dotting tool (or a toothpick) for the centers. For the watercolor effect, a small brush and isopropyl alcohol. That’s it. Skip the fancy stamping plates — hand-painted petals look more organic and take only a few minutes per nail.
The Watercolor Method
Here’s the technique that makes these nails stand out. After painting your white petals (five small strokes in a loose circle), take a clean brush dipped in a tiny amount of isopropyl alcohol. Gently touch the edges of the petals before they cure. The alcohol will soften the white polish, creating a blurred, watercolor edge. Don’t overdo it — one light pass is enough. This step is what gives the flowers that ethereal, painted-on look rather than a hard decal.
Common Mistake to Avoid
Too much alcohol will dissolve the petal entirely. Use a barely damp brush. If you’re using regular polish, work quickly — the alcohol can react with the polish base. For gel, cure each layer before applying alcohol to avoid smearing the entire design.
Placement That Feels Natural
Don’t cluster all blossoms in the center. Place one near the cuticle, one on the middle of the nail, and one near the tip. Vary the size slightly — a smaller dot for the center, slightly larger petals for the main flower. This mimics how blossoms scatter on a branch. On accent nails, you can add a few tiny dots (using the dotting tool) to suggest falling petals.
Finishing for Longevity
Seal everything with a second sheer pink coat. This unifies the design and adds depth. Then a glossy top coat. For gel, cure for the full recommended time. For regular polish, wait two minutes between coats to avoid bubbles. The key is thin layers — thick layers peel or chip faster. I always wipe off the tacky layer with alcohol after curing gel top coat. That final wipe removes any residue and gives a clean, glass-like shine.
Adapting for Different Nail Lengths
Short nails: Use smaller petals (three strokes instead of five) and place them closer to the cuticle. Long nails: You can add a second blossom per nail, but keep the spacing balanced. The design works on any shape — almond, square, or round. The sheer base makes it forgiving if your nail shape isn’t perfect.
Takeaway
Cherry blossom spring nails don’t need to be complicated. The watercolor technique with a sheer jelly base gives you that soft, dreamy look that stops the scroll. Practice on a few nails first — the alcohol blurring takes a little finesse. But once you get the ratio right, you’ll have a design that’s worth every double-tap.
Frequently Asked Questions
How long do cherry blossom nails last?
With gel polish and proper prep, they can last 2-3 weeks. Regular polish lasts about 5-7 days with a good top coat.
Can I do this design without gel polish?
Yes. Use regular sheer pink polish and let each layer dry fully. The watercolor effect works with alcohol or a blending solution, but work quickly before the polish sets.
What if I don’t have a dotting tool?
A toothpick or the tip of a bobby pin works fine for the center dots. Just ensure it’s clean.
How do I make the petals look natural?
Vary the size and spacing of the petals. Use a light hand and let the brush do the work. A slight wobble in the stroke adds organic charm.