
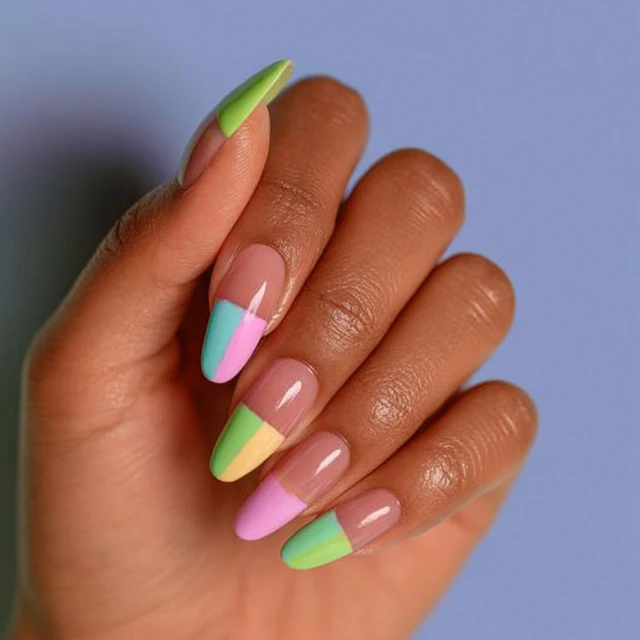
The first time I saw clean girl nails, I was struck by how simple they looked—and how impossible they seemed to replicate. The sheer nude polish, the perfect almond shape, the glass-like shine. It’s a look that whispers elegance without shouting for attention. But here’s the truth: achieving it isn’t about expensive products or salon visits. It’s about technique and patience. I’ve broken down the method into precise steps so you can get that effortless, timeless manicure at home—or even at the campsite.

Why Clean Girl Nails Work So Well
The appeal lies in the restraint. No chunky glitter, no loud patterns, no trend that will fade next season. Clean girl nails rely on a sheer polish that lets your natural nail color peek through, creating a polished but understated look. The shape—rounded almond—elongates the fingers and resists snagging, which is a practical advantage when you’re setting up a tent or chopping vegetables. This style also hides minor chips better than opaque colors because the sheer finish blends with the nail bed. For anyone who spends time outdoors, that’s a game-changer.
Picking the Right Polish
Not all sheer nudes are created equal. I keep the ratio at one part white to three parts pink for a true nude that flatters most skin tones. Look for a polish labeled “sheer” or “barely there”—avoid anything with obvious shimmer or glitter. A classic example is Essie Mademoiselle, but any drugstore brand with a milky, translucent pink will work. The key is to test one coat on a nail; if it looks like your nail but better, you’ve found the one. For camping, pack a mini bottle and avoid leaving it in a hot car—heat thickens the polish and makes it gooey.
The Shape: Almond or Squoval
I prefer a rounded almond shape for clean girl nails. To get it, file from each side toward the center in one direction—no sawing back and forth, which weakens the nail. Aim for a curve that mirrors the cuticle line. If your nails are short, go with squoval (square with rounded corners) instead. The common mistake is filing too aggressively; stop when the shape looks symmetrical, even if it’s slightly shorter than you wanted. You can always file more, but you can’t add length back.
The Application Technique That Makes the Difference
This is where most people go wrong. They slap on a thick coat of sheer polish and wonder why it looks streaky or uneven. Here’s the method: start with a thin layer of base coat—let it dry for exactly 60 seconds until it’s tacky, not wet. Then, wipe the brush of your sheer polish on the bottle rim to remove excess. Apply one thin coat, starting in the center of the nail and pushing the polish toward the cuticle, leaving a tiny gap (about 1 millimeter) between the polish and the cuticle. This gap prevents flooding and makes the manicure look intentional. Let that coat dry for 2 minutes, then apply a second thin coat. The sheer color builds slowly; two coats give a translucent wash that looks natural. Three coats start to look opaque, which defeats the purpose.
Finish with a high-shine top coat. Brush it on in one stroke down the center, then one on each side. Cap the free edge by swiping the brush across the tip of the nail—this seals the polish and prevents chipping. Let it dry for 5 minutes without touching anything. I’ve timed it: 5 minutes is enough for the top coat to set, but the polish underneath stays slightly soft for an hour. Avoid heavy tasks like opening cans or digging in dirt during that time.
Adapting for Camping or On-the-Go
If you’re doing this at a campsite, work in the shade to avoid dust and wind sticking to wet polish. Use a small, flat rock or a camp table as your work surface. Keep a bottle of water nearby to rinse your hands before starting—dirt and oil prevent polish from adhering. For food safety, note that nail polish is not food-grade; wash hands thoroughly before handling any food. If you’re making this a no-refrigeration beauty routine, store your polish in a cool, dry place inside your cooler (wrapped in a zip-top bag to protect from moisture). The cooler keeps the polish from thickening in heat.
Common Mistakes to Avoid
One: using a thick coat of polish. Thin layers dry faster and look smoother. Two: skipping the base coat. That step prevents staining and helps the polish stick. Three: touching the cuticle with polish. It creates a messy edge and causes peeling. Four: shaking the polish bottle before use. That creates bubbles; instead, roll the bottle between your palms to mix. Five: applying top coat before the color is fully dry. Wait at least 3 minutes between color and top coat.
Storage and Maintenance Tips
To keep your clean girl nails looking fresh, apply a fresh layer of top coat every other day. This adds shine and strengthens the seal. Carry a mini cuticle oil and apply it after washing hands—dry cuticles ruin the clean look. If a chip appears, file it gently to smooth the edge, then apply a single thin coat of the sheer polish over the entire nail, followed by top coat. Don’t try to patch just the chip; it will look uneven.
For camping, I pack a small kit: one file, one buffer, one base coat, one sheer polish, one top coat, and a tiny bottle of cuticle oil. Everything fits in a zip-top bag. I keep it in the cooler during hot days to prevent the polish from separating. When I’m ready to apply, I let the polish warm to air temperature for 10 minutes—cold polish is thick and hard to spread.
Takeaway
Clean girl nails aren’t about perfection. They’re about simplicity done well. The right shape, a sheer polish applied in thin layers, and a glossy top coat—that’s the formula. It’s a look that works at the office, at the campsite, or anywhere in between. And once you master the technique, you’ll wonder why you ever bothered with complicated designs. Sometimes the most elegant statement is the one that says the least.
Frequently Asked Questions
What is the clean girl nail aesthetic?
The clean girl nail aesthetic focuses on minimal, polished nails—typically a rounded almond or squoval shape, sheer nude or pale pink polish, and a glossy top coat. It emphasizes healthy, well-groomed nails over bold designs.
How do I keep clean girl nails from chipping while camping?
Apply a high-quality top coat and cap the free edge of each nail. Let each layer dry fully (at least 2 minutes between coats). For extra durability, carry a mini top coat and reapply daily. Avoid using nails as tools.
Can I achieve this look without a base coat?
I do not recommend skipping the base coat. It prevents staining from the polish, helps the color adhere evenly, and extends wear time. Even a clear base coat makes a noticeable difference.
What shape is best for clean girl nails?
The rounded almond shape is most common because it elongates the fingers and resists breakage. Squoval (square with rounded corners) is a good alternative if you prefer shorter nails. Avoid sharp stiletto shapes for this aesthetic.