
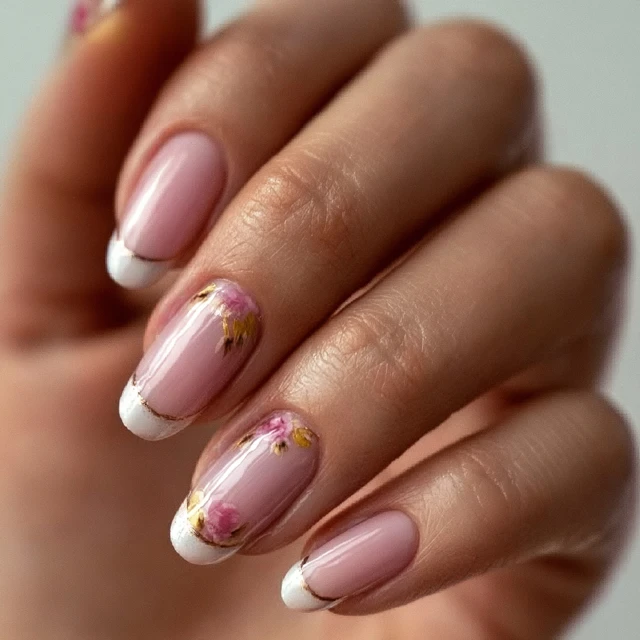
There’s a quiet confidence in a manicure that doesn’t shout. Spring milk bath nails capture that—a soft, milky wash of color that feels like clean linen and morning light. The look is simple: a sheer white or pale pink base that lets your natural nail peek through. It’s not a stark white. It’s the color of diluted milk, with a hint of warmth.

I’ve been perfecting this technique for years, and the key is in the layering. Most people slap on a thick coat of opaque polish and wonder why it looks chalky. The secret is thin, translucent layers. Start with a base coat—use a ridge-filling one if your nails have texture. Then apply one thin coat of your chosen sheer polish. Let it dry completely. Then a second coat, but here’s the trick: use a lighter hand in the center of the nail. This creates a subtle gradient—slightly more opacity at the cuticle and tip, sheerer in the middle. It mimics the natural depth of a real milk bath.
Why This Technique Works
The gradient is what keeps this look from feeling flat. It adds dimension without being obvious. The eye reads it as clean and elegant, not stark. I keep the ratio at about 60% opacity at the cuticle and tip, 40% in the middle. You can adjust for your taste—more opaque for a stronger milk look, more sheer for a whisper of color.
Choosing the Right Polish
Not all sheer whites are created equal. Some lean too yellow, others too blue. Look for a shade that says ‘sheer’ or ‘jelly’ on the bottle. Essie’s ‘Mademoiselle’ is a classic pale pink that works beautifully. OPI’s ‘Bubble Bath’ is another favorite—it’s a soft, milky pink that flatters most skin tones. If you want a true white milk bath, try a polish like ‘Funny Bunny’ by Essie, but apply it in very thin coats to avoid a chalky finish.
Common Mistakes to Avoid
- Thick coats: They’ll look streaky and take forever to dry. Thin coats are your friend.
- Skipping the base coat: Sheer polishes stain easily. A base coat protects your natural nail and helps the polish adhere.
- Not letting layers dry fully: Patience is key. Wait 2-3 minutes between coats. Rushing leads to bubbles and smudges.
Finishing Touches
Top coat choice changes the whole mood. A high-shine top coat makes the nails look wet and glossy—perfect for a dewy spring look. A matte top coat gives a porcelain, almost ceramic finish—more modern and understated. I prefer the glossy for spring, but both work. Finish with cuticle oil to keep the skin around the nails hydrated and the polish looking fresh longer.
How to Make It Last
Prep is everything. Lightly buff the nail surface before applying base coat. This gives the polish something to grip. Avoid soaking your nails in water for at least an hour after the final coat. For extra longevity, apply a quick-dry top coat and reapply it every other day. And always wear gloves when washing dishes or using cleaning products.
Takeaway
Spring milk bath nails are a timeless choice. They’re understated, elegant, and work with any outfit. The technique is simple but the result is polished. Focus on thin layers and a gentle gradient, and you’ll have a manicure that looks like it came from a high-end salon—without the price tag.
Frequently Asked Questions
What is the difference between milk bath nails and jelly nails?
Milk bath nails use a sheer white or pale pink base with a slightly opaque, milky finish, while jelly nails have a translucent, glossy look that mimics jelly. Milk bath nails are softer and more opaque, while jelly nails are more sheer and shiny.
How long do milk bath nails typically last?
With proper application and a good top coat, milk bath nails can last 5-7 days without chipping. Using a quick-dry top coat and avoiding harsh chemicals will extend the wear.
Can I use regular nail polish for this look?
Yes, any sheer white or pale pink polish works. For a true milk bath effect, choose a polish with a slightly creamy, not fully opaque, finish.
How do I fix a patchy application with sheer polish?
Apply very thin coats and wait for each to dry fully before adding the next. If it still looks patchy, use a third coat only on the uneven areas, then seal with top coat.