
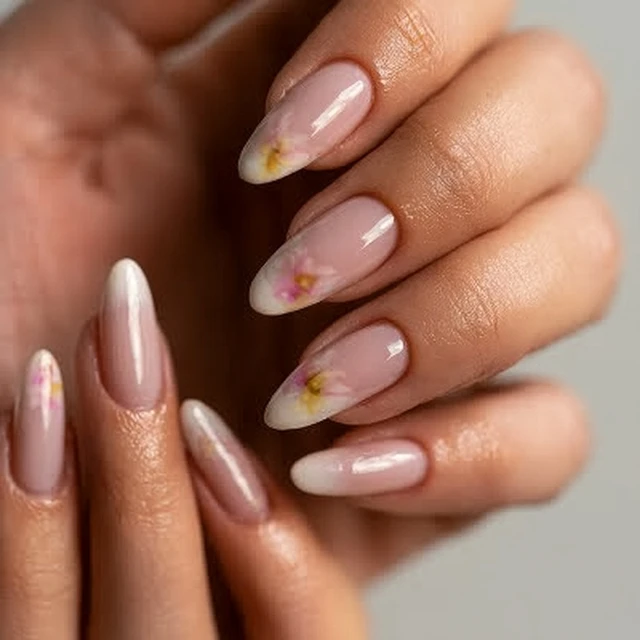
Spring mornings at the campsite have a particular smell: damp earth, coffee brewing, and the faint sweetness of wildflowers waking up. My hands are usually busy—slicing fruit, rolling out dough for campfire biscuits, or zipping up a cooler. That’s when I want my nails to feel like a quiet garden, even if I’m nowhere near a flower bed. These spring garden accent nails are my answer. They’re make-ahead, no-fire, and designed to survive a family camping trip without chipping or smudging. No polish fumes near the tent, no UV lamp needed at the picnic table. Just a set of press-ons you can prep at home and snap on when the mood strikes.

Why Press-Ons for Camping?
Press-on nails are the unsung heroes of outdoor beauty. They require zero heat, zero electricity, and zero cleanup. You apply them in five minutes at the trailhead or at the campsite after breakfast. The trick is to prep them properly at home, so they stay put through tent zippers, cooler handles, and s’mores assembly. I keep the ratio at one decal per nail for a clean look, but you can cluster two tiny decals on an accent nail if you want more detail. The key is sealing everything with two coats of top coat—gel or regular—to lock out moisture and dirt.
Choosing Your Decals
Look for water-slide decals or pre-made nail stickers with spring motifs: daisies, lavender sprigs, bees, or tiny ladybugs. Avoid thick 3D embellishments for camping—they catch on fabric and tent mesh. Flat decals lie smooth under a top coat and won’t snag. If you’re using water-slide decals, soak them in a glass bowl of room-temperature water for about 15 seconds, then slide them onto the nail with tweezers. Work from the center outward to push out air bubbles. A common mistake is leaving the decal in water too long—it becomes too fragile and tears. Stick to 15 seconds max.
Step-by-Step: Make-Ahead Nail Art
Start with clean press-on nails. I prefer clear or nude bases because they let the decals pop. File the free edge into a rounded square—less likely to catch on gear than sharp almond shapes. Apply a thin base coat and cure or dry. Then, using tweezers, place each decal. Press gently from center to edges. Seal with top coat. For gel, cure 60 seconds per layer. For regular polish, wait 5 minutes between coats. Finish with cuticle oil to hydrate the nail bed after application.
Store the completed nails in a resealable plastic bag, flat, not stacked. If you’re camping in hot weather (above 80°F or 27°C), tuck the bag into the cooler’s top compartment—not on ice, just the cool air. Heat can soften the adhesive and cause nails to lift. I learned that the hard way after a trip to a desert campsite where my press-ons popped off like bottle caps. Now I keep them cool and they stay put for the whole trip.
Safety and Allergen Notes
If you’re using nail glue, check for latex or acrylates—common allergens. For kids, use adhesive tabs instead of liquid glue; they’re gentler and easier to remove. Always wash hands before eating, especially after handling decals or polish. For specific skin concerns, consult a qualified professional. Keep a small bottle of cuticle oil in your camp kit to prevent dry cuticles from campfire smoke and wind.
Final Takeaway
These spring garden accent nails are a small ritual that ties the campsite to the garden. They’re practical, pretty, and proof that camp prep can be a little bit of art. Make them at home, pack them flat, and let your hands do the talking while you cook, explore, and relax under the spring sky.
Frequently Asked Questions
How long do these spring garden accent nails last while camping?
With proper application and storage, they last 5–7 days. Avoid soaking in water for long periods (like dishwashing) and store in a resealable bag when not wearing.
Can I use regular polish instead of gel for camping nail art?
Yes. Regular polish works fine, but it chips faster. Apply two layers of top coat and let each dry fully. Pack a small bottle of top coat for touch-ups.
Are these nails safe for kids during family camping?
Yes, if using press-ons without strong adhesives. Avoid glues with formaldehyde or toluene. Supervise young children to prevent swallowing small decals.