
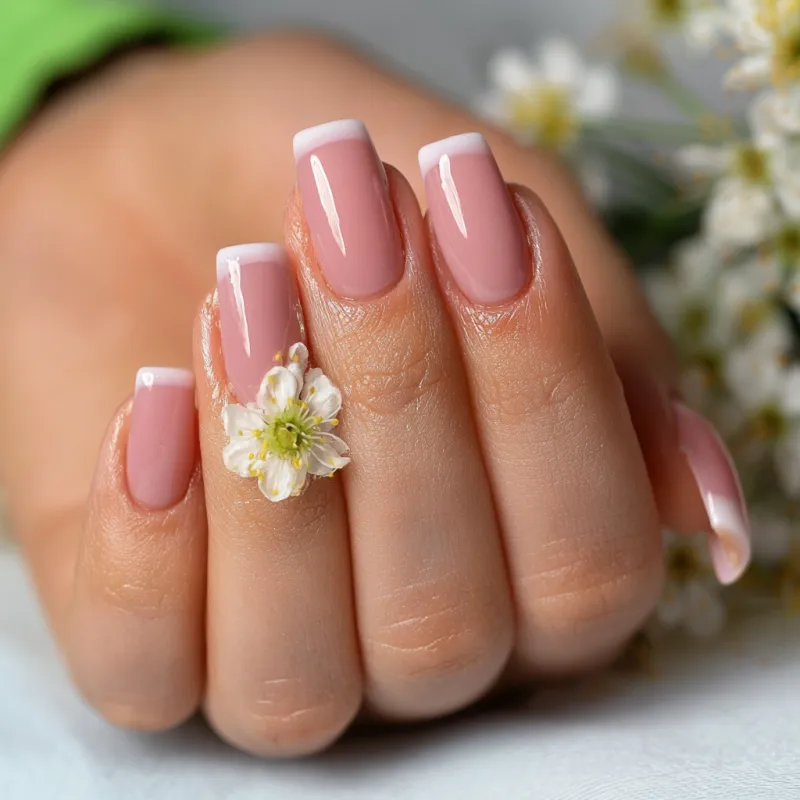
There’s a moment in early spring when the light shifts—softer, warmer, almost hazy. That’s the feeling I chase with pastel acrylics. Not the flat, chalky pastels of cheap craft paint, but colors that look like they’ve been filtered through morning fog: dusty lavender, pale peach, mint with a whisper of gray. The kind of finish that makes you want to run your fingers over it.

If you’ve tried pastel acrylics before and ended up with a lumpy, uneven set, you’re not alone. Pastel pigments behave differently than their deeper cousins. They’re more translucent, more prone to streaking, and they set up faster. But with the right approach, you can get a smooth, dimensional look that actually feels like spring.
Choosing Your Pastel Palette
Start with three to four colors that share an undertone. For spring, I lean toward cool-toned pastels: soft lilac, baby blue, and a muted sage. If you prefer warmth, try blush pink, buttercream yellow, and a pale coral. The key is consistency—mix all your colors with the same monomer ratio. If one bead is too wet and another too dry, the surface will never look seamless.
Here’s a specific tip you won’t find everywhere: add a tiny drop of white acrylic powder to each pastel color before you mix. Just a pinch. It boosts opacity without dulling the hue, so you don’t need three coats. I do this on a clean dappen dish, stirring until the powder is fully incorporated. The bead should look creamy, not watery.
Why Pastels Set Faster
Pastel acrylic powders often contain more titanium dioxide (the white pigment), which can accelerate the polymerization process. That means your working time shrinks by about 10 to 15 seconds. So have your brush prepped, your nail prepped, and your movements planned. If you hesitate, the bead starts to harden mid-smooth, and you’ll get ridges.
Prep Work: The Foundation for Pastels
Pastels show every imperfection. A bump in the natural nail, a speck of dust, a streak of cuticle oil—all of it becomes visible. So spend extra time here. Push back cuticles gently with a wooden stick, but don’t cut them unless you’re trained. Buff the nail plate with a 180-grit file just enough to remove shine—no more. Over-filing weakens the nail and creates a rough surface that catches light unevenly.
Wipe the nail with a lint-free wipe soaked in 99% isopropyl alcohol to remove dust and oils. Don’t skip this step. Even a trace of moisture can cause lifting later. For clients with oily nail plates, I sometimes apply a thin layer of acid-free primer and let it dry for 30 seconds before the acrylic goes on.
The Bead Placement Technique
Here’s where most people go wrong: they place the bead too close to the cuticle. Instead, set the bead about 2 millimeters away from the cuticle line. Press it gently toward the cuticle with the brush, then smooth it back toward the tip. This avoids flooding the cuticle area and creates a natural, thin edge.
For pastels, I use a slightly smaller bead than usual—about the size of a small pea. The smaller bead gives you more control and sets faster. If you’re working on a full set, do one hand at a time. By the time you finish the fifth finger on the first hand, the first finger should be firm enough to shape.
Common Mistake to Avoid
Don’t overwork the bead. Once you’ve placed and smoothed it, leave it alone. If you keep brushing over it, you’ll introduce air bubbles and drag the pigment, creating streaks. If you see a small dip or bump after the bead has started to set, wait until it’s fully hard (about 30 seconds) and then file it smooth. Don’t try to fix it with a wet brush.
Shaping and Finishing
Once the acrylic is fully cured (about 2 minutes), shape with a 180-grit file for the initial contour, then switch to a 240-grit file for smoothing. I work in one direction—from the sidewall toward the center—to avoid scratches. For pastels, the final finish matters more than with darker colors. A 400-grit buffer block gives a soft, satin sheen that makes the color glow.
Apply a thin layer of top coat—a no-wipe gel top coat works beautifully here because it self-levels and adds depth. Cure under a UV or LED lamp according to the product instructions. The result should be glossy but not sticky, with a surface that feels like polished glass.
My Non-Commodity Tip: The ‘Fog Layer’
Here’s a technique I developed to give pastel acrylics that ethereal spring look. After shaping and before top coat, take a clean brush and dip it into a tiny amount of translucent white acrylic powder (just the powder, no monomer). Lightly dust it over the surface of the nail, then tap it in with a soft, dry brush. This creates a subtle, hazy overlay—like morning mist on a window. It softens any harsh edges and unifies the color. Seal with top coat, and the effect is magical. You won’t see this in most tutorials, but it’s the secret to pastels that look expensive, not plastic.
Takeaway
Pastel spring acrylics don’t have to be a struggle. With the right prep, a steady hand, and a few insider tweaks—the white powder boost, the fog layer, the smaller bead—you can achieve a finish that feels fresh and polished. Spring is about renewal, not perfection. Let your nails reflect that lightness.
Frequently Asked Questions
How do I prevent pastel acrylics from looking chalky?
Chalkiness often comes from over-filing or using too much monomer. Make sure your acrylic bead is wet enough when you place it—if it looks dry and crumbly, add a drop more monomer. Also, use a fine-grit file (240 grit or higher) for shaping, and finish with a high-quality top coat to restore gloss.
Can I mix my own pastel colors with clear acrylic powder?
Yes, you can. Start with a small amount of clear powder and add colored pigment or eyeshadow (finely crushed) until you reach the desired pastel shade. Mix thoroughly on a dappen dish before dipping your brush. Test on a practice tip first to see how it cures—some pigments change tone slightly as they dry.
Why do my pastel acrylics look uneven or lumpy?
This usually happens when the bead is too large or the brush is overloaded. Use a smaller bead—about the size of a pea—and place it slightly above the cuticle, then gently press and smooth it toward the tip. Work quickly but deliberately; pastel acrylics can set faster than darker shades because of the pigment density.
What is the best shape for pastel spring acrylics?
Soft almond or rounded square shapes complement pastel tones beautifully. Avoid extreme stiletto or coffin shapes, as they can make the pastel look too harsh. A gentle curve on the sides and a softly rounded tip keep the look airy and spring-like.