
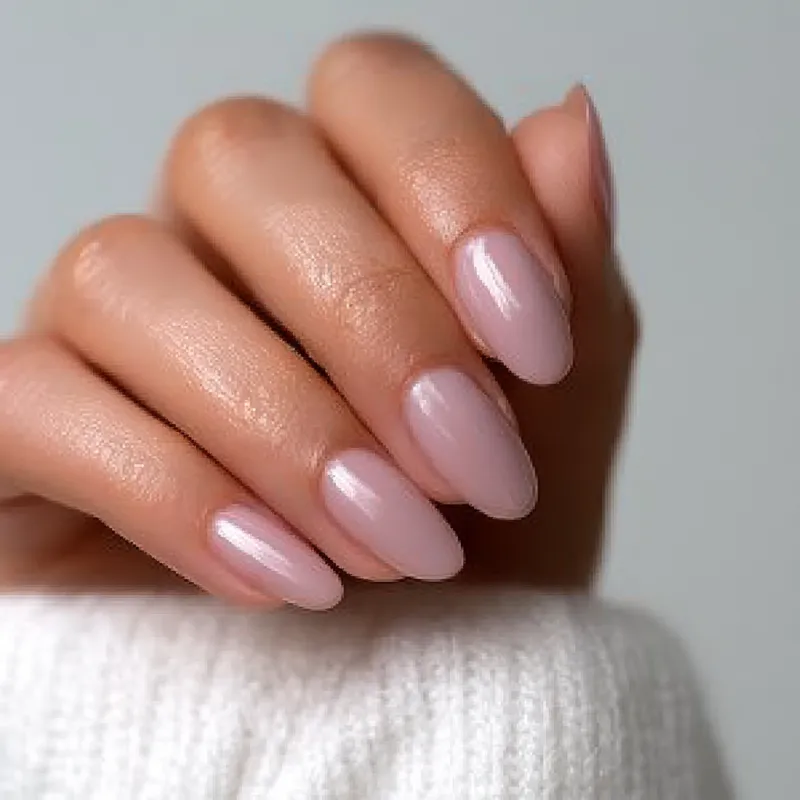
The first time I saw the spring 2026 minimalist nail trend, I was sitting in a patch of sunlight, and the light caught a single, thin gold line on a sheer nude nail. That was it. No glitter, no flowers, no complex gradients. Just a clean, deliberate mark that made the whole hand look elegant. That moment stuck with me because it proved that sometimes less really is more—especially when you want your nails to feel fresh without screaming for attention.

This season, minimalist nails are all about restraint with intention. Think barely-there pinks, milky whites, and soft peaches as your base. Then you add one small element: a tiny dot at the cuticle, a vertical stripe down the center, or a negative space crescent near the base. The key is precision—a smudged line ruins the whole effect, so take your time.
Why Minimalist Nails Work for Spring 2026
Minimalism in nail art isn’t new, but this year’s twist is about texture and sheerness. Instead of opaque colors, we’re seeing jelly-like finishes that let the natural nail show through. This is great for anyone who wants a polished look but doesn’t want to commit to a full opaque color that chips visibly. The sheer base also grows out gracefully, so you can stretch a manicure an extra day or two.
Another reason this trend works: it’s incredibly forgiving. If your nail shape isn’t perfectly even, a sheer polish with a small accent draws the eye to the design, not the shape. And because the design is minimal, you can do it on short nails, long nails, or anything in between.
Technique for the Perfect Sheer Base
Start with clean, dry nails. Push back your cuticles gently with a wooden stick—don’t cut them—and wipe the nail plate with a lint-free pad soaked in rubbing alcohol. This removes any oil or residue so the polish adheres evenly.
Apply one thin coat of a sheer base coat. I like a milky white or a barely-there pink. Let it dry for two minutes. Then apply a second thin coat. The goal is still to see the white tip of your nail through the color. If it looks too opaque, you’ve applied too much. Wipe the brush on the rim of the bottle to remove excess polish before each stroke.
Let the base dry for at least five minutes before you add any art. Rushing this step is the most common mistake—the design will drag or bleed into the base, and you’ll have to start over.
Adding a Negative Space Crescent
This is my favorite minimalist accent. After your base is dry, take a fine detail brush and dip it into a slightly thicker polish—white, soft gold, or a muted lavender. Paint a small crescent shape right at the base of your nail, leaving the bare nail visible in the center. The curve should follow your cuticle line but sit about two millimeters away from it.
Keep the line thin—about the width of a toothpick. If it’s too thick, the negative space gets lost. One steady stroke is better than multiple attempts. If you make a mistake, dip a clean brush in a little acetone and gently wipe the line away before it dries.
Single Dot Accents
Another simple but striking design: place one tiny dot at the center of the nail, just above the cuticle. Use a dotting tool or the end of a bobby pin. Dip it into a metallic polish—rose gold or silver works beautifully—and press gently onto the nail. Don’t push down; just touch and lift. The dot should be about the size of a pinhead.
You can do this on every nail, or just on your ring finger and thumb for a subtle highlight. Let the dots dry for two minutes, then seal everything with a glossy top coat. Apply the top coat in one smooth stroke from cuticle to tip to avoid dragging the dots.
Common Mistakes and How to Avoid Them
The biggest issue I see with minimalist nails is uneven lines. If your hand isn’t steady, rest your painting hand on a table or against your other hand. Also, use a fine brush that holds a small amount of polish—too much liquid will flood the nail and ruin the crisp edge.
Another mistake is skipping the top coat. Without it, the sheer base can look dull and the accent might lift after a day. A good top coat adds that glassy shine that makes minimalist nails look expensive.
Also, be mindful of product safety. Some polishes and removers can irritate the skin. Always work in a well-ventilated area, and if you notice any redness or itching, remove the polish immediately and let your nails breathe. For any persistent irritation, consult a dermatologist.
Takeaway
Spring 2026 minimalist nails are about finding beauty in simplicity. A sheer base with one small accent—a dot, a line, a crescent—can transform your hands without taking hours. The best part? You can do it at home with just a few tools and a steady hand. Give it a try, and let your nails breathe this season.
Frequently Asked Questions
What are minimalist nails for spring 2026?
Minimalist nails for spring 2026 focus on clean lines, sheer or nude bases, and small accents like a single dot, thin stripe, or negative space shape. The look is understated and polished, emphasizing healthy nails over heavy decoration.
How do I make minimalist nails last longer?
Start with a clean, dry nail plate—wipe with a lint-free pad and a bit of rubbing alcohol to remove oils. Apply a thin base coat, then two thin coats of your color, letting each dry fully. Finish with a glossy top coat and reapply the top coat every two to three days to seal the edges.
Can I do minimalist nails with regular polish?
Absolutely. Regular polish works well for minimalist designs because thin layers dry quickly. Use a fine brush or a dotting tool for details. Just be patient between coats to avoid smudging.
What tools do I need for minimalist nail art at home?
You only need a fine detail brush (or even a toothpick), a dotting tool or the tip of a bobby pin, and your chosen polishes. A top coat is essential for a smooth finish.